BioHack Academy third: thermostatThis week contenmaking thermostatcheck the working effect of sterile coverPART1 making thermotankintroduceThermostat Incubator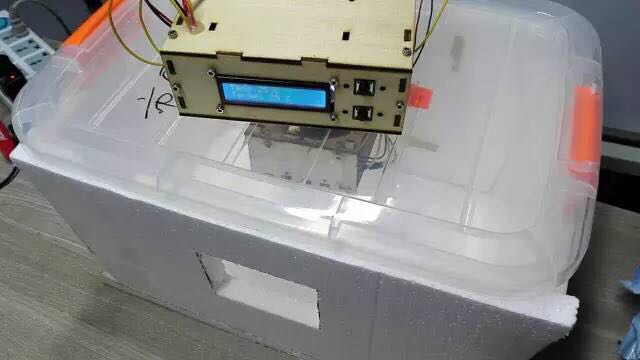
It controls the temperature within a certain range for the cultivation of organisms (such as lizards, eggs), or microorganisms, such as bacteria.Principle:According to the "temperature sensor" control "heater", when the temperature is higher than a certain value, the heater stops working; when the temperature is lower than a certain value, the heater starts to work until the temperature reaches the set value.
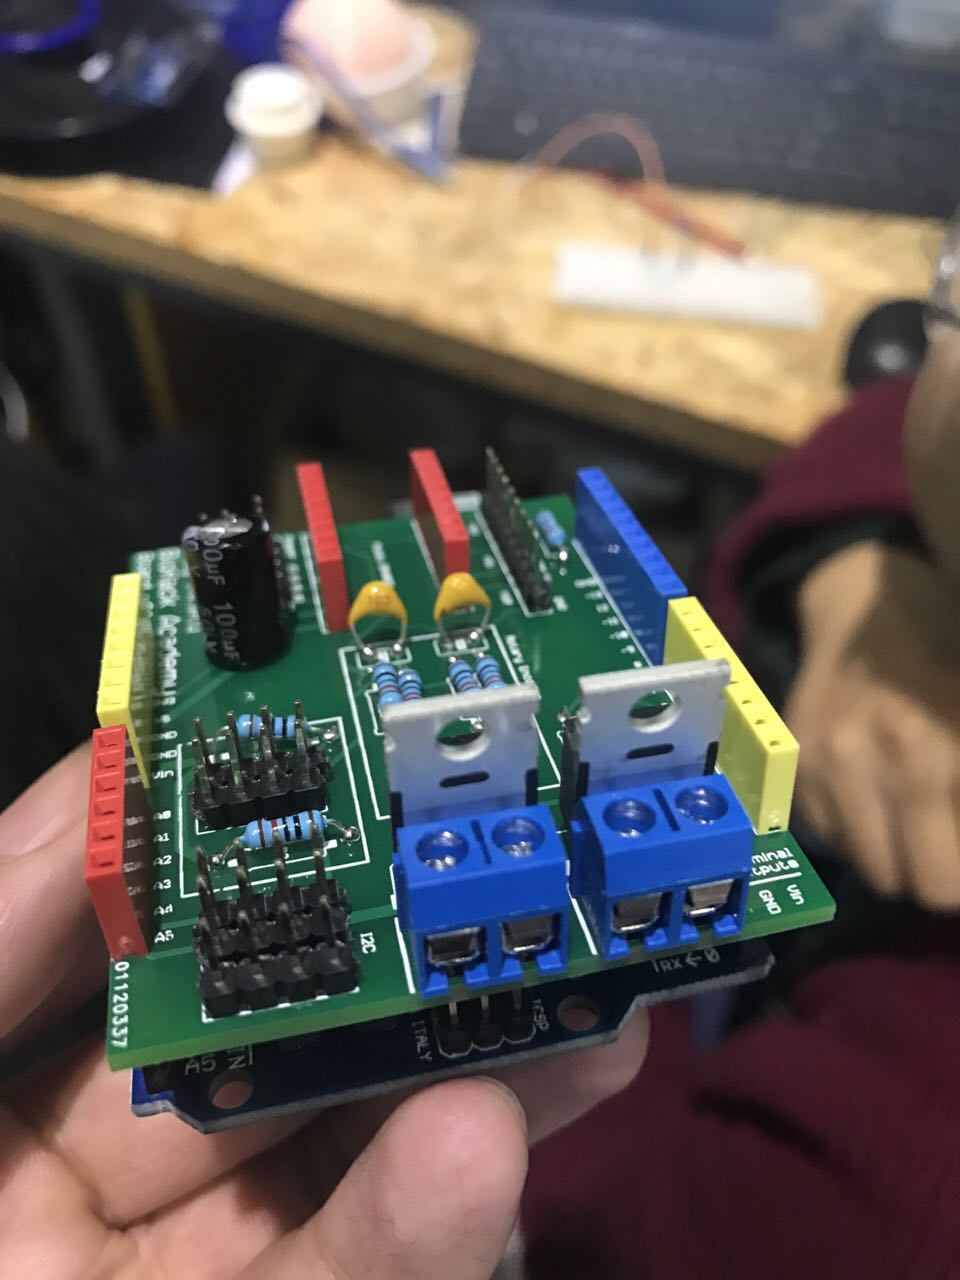
Thermostat Arduino motherboard weldingConstant temperature box used in the welding of the Arduino motherboard is strange, so let's talk about the electronic components of the motherboard welding.
A. materialThe main equipment used: soldering, soldering machine, multimeter, diagonal pliers and PCB board.
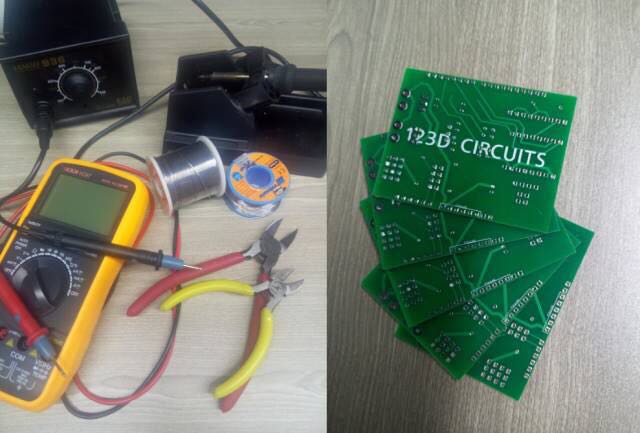
Need electronic components: resistors, capacitors, welding power supply interface, MOS field effect transistor, diode, row, row number.
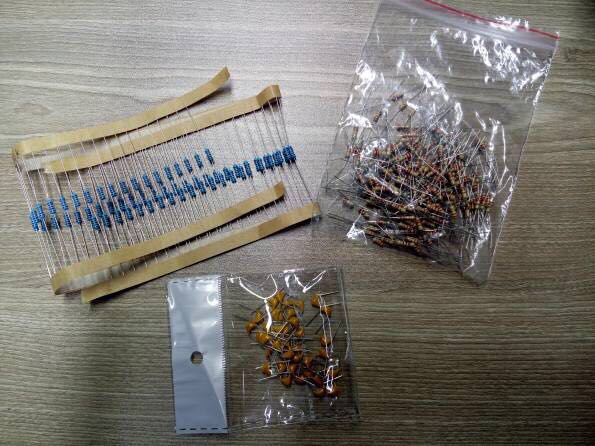

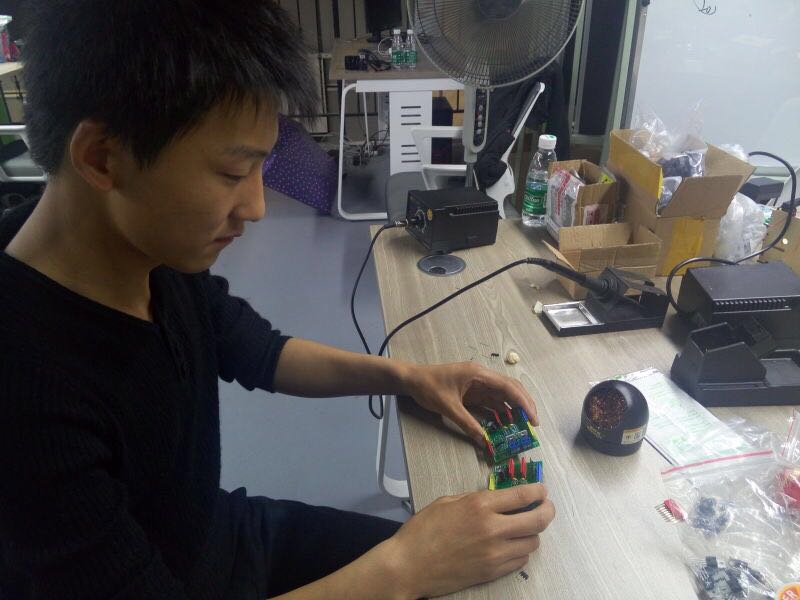
B, welding, in the entire process of soldering, can not touch the front part of the metal. Solder wire in the left hand, right hand holding electric iron. Install the electronic components to be welded on the PCB board. The front panel will have the corresponding chart, according to the graphics to install electronic components. When welding, the electronic components can be installed on the board many times. The utility model is convenient to operate, and can be used to help fix electronic components.
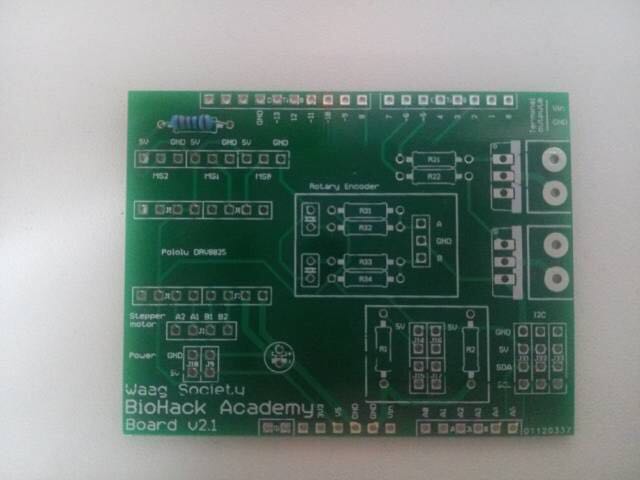
Place the tip of the soldering iron on the pad (the pad is a square or circular metal area on the PCB panel), and stay for 2-3 seconds. When the welding surface is heated to a certain temperature, the left hand contacts the welding wire from the electric iron. The first heating pad, because solder melts will flow to where the temperature is high, to ensure that the pin pad gap around.Remove the iron and wait for 3-5 seconds, the solder will cooling solidification, electronic components pin welding solid.
C. examinationUse multimeter to check whether the welding of electronic components is good. Electronic components in the positive and negative pins, such as diodes, need to be careful not to weld the positive and negative electrode.
D. remove excess pinThe use of oblique mouth pliers to cut the back of the pin, pay attention to retain the mother of the pin.My motherboard is finished!

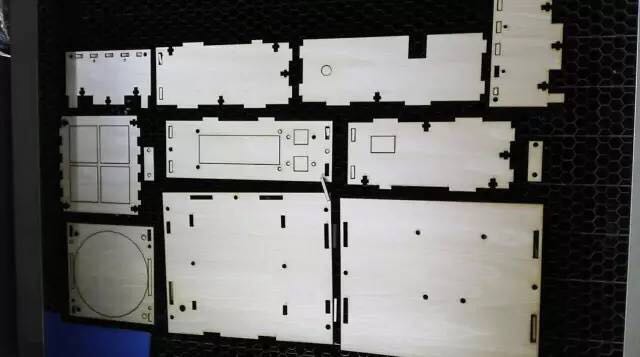
Controller shellUse laser cutting machine to cut out the shell
Thermostat box productionWe found a plastic box, in order to improve the insulation effect, it needs to be affixed to the foam board.

According to the size of the plastic box to the foam board
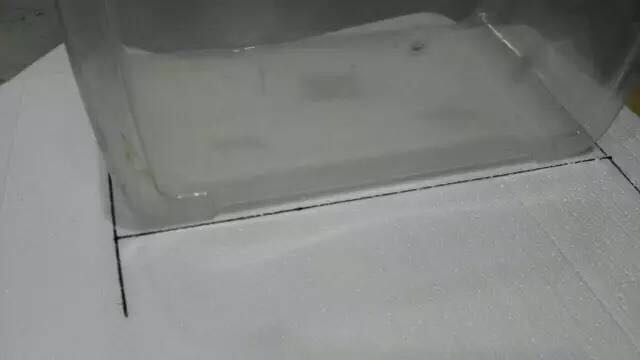
Place the foam on the plastic box

Thermostat box in order to improve the insulation effectCircuit connectionBiohack board connection modeIn accordance with the principles of the courseware to build the circuit can be, but there is one point, we use the Biohack Board, the following red box circuit is not connected.
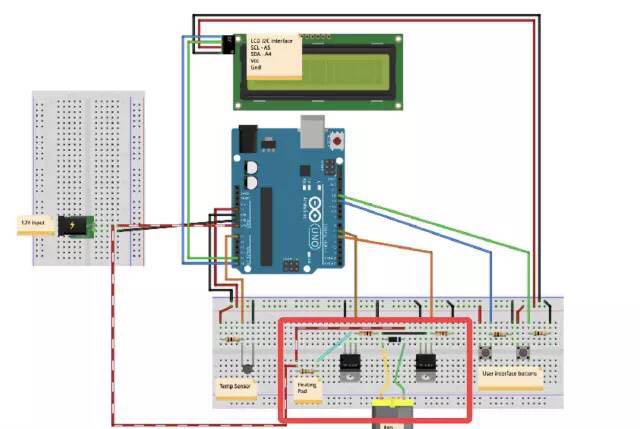
The fan and heater are connected in the manner shown

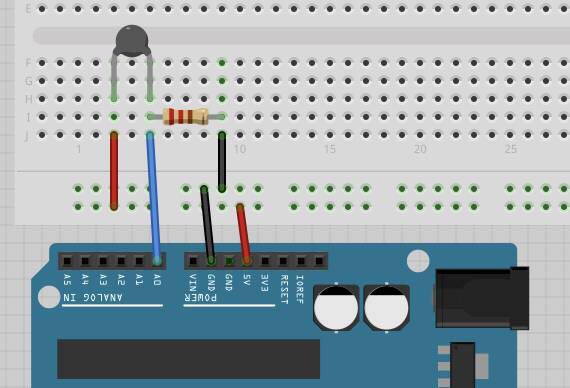
NTC temperature sensorWe follow the link in the courseware connection, found that after the connection, the higher the actual temperature, the lower the temperature display. Query data that the temperature sensor has two types:Negative temperature coefficient of NTC:Negative Temperature CoefficientPTC:Positive Temperature Coefficient positive temperature
Program debuggingInstall the OneWire library fileOpen the example, click on the compiler and found an error
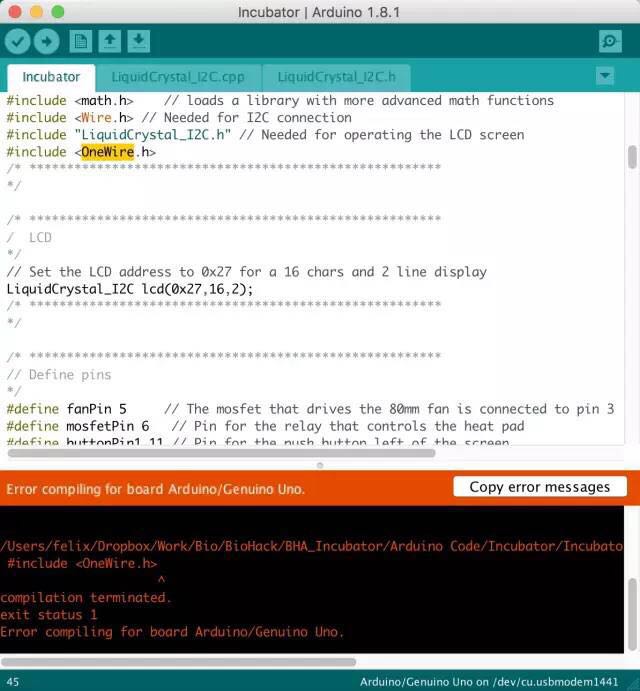
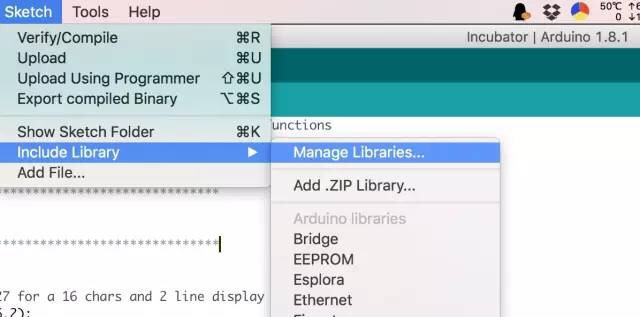
Missing the library "OneWire", we need to install this library
Finally, test the function, temperature sensor, heater, fan, LCD and button before the assembly
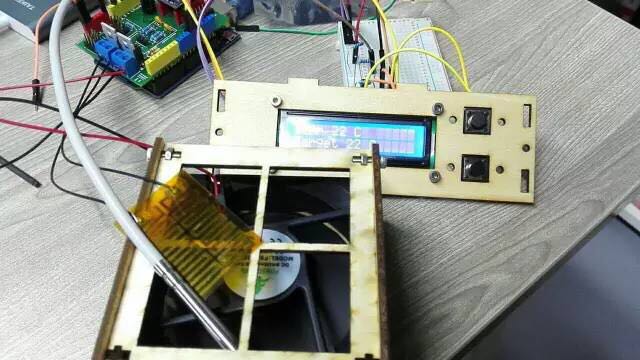
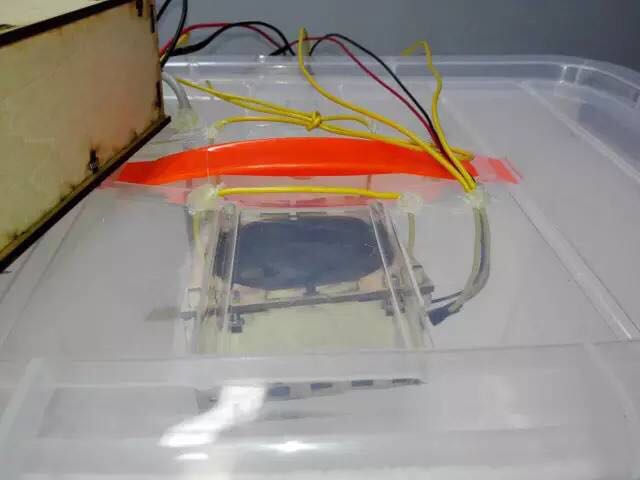
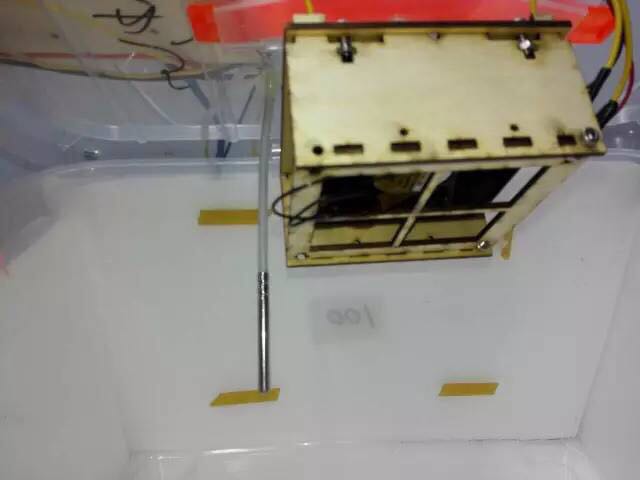
AssembleHang the fan in the incubator and put the heating film and the temperature sensor in the box
Sterile cover
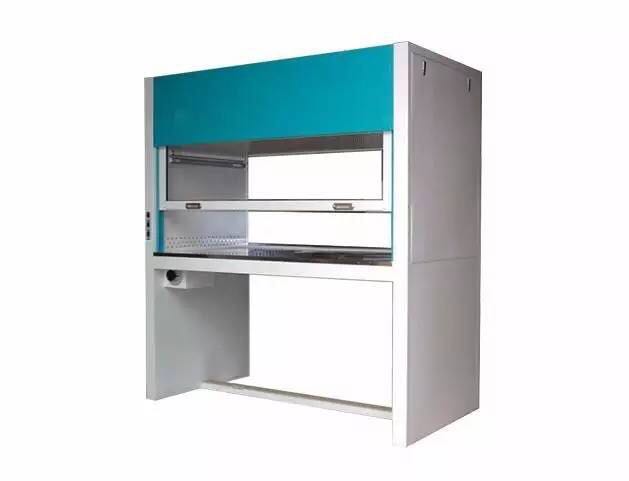
The device is designed to provide a clean, sterile working area for the cleanliness of the working area.Experimental principle:The medium high temperature sterilization, were placed in the working condition of "self-made super clean bench and test area of arbitrary, open Petri dish cover, standing for half an hour, then cover the Petri dish lid in the constant temperature incubator. The number of colonies on the Petri dish was observed, and the effect of the working table was determined by the number of colonies.
Experimental preparationExperimental instrument:The Petri dish, some electronic balance, spoon, beaker, flask, alcohol lamp, stirring rod, autoclave, weighing paper, newspaper, some high temperature resistant rubber etc..
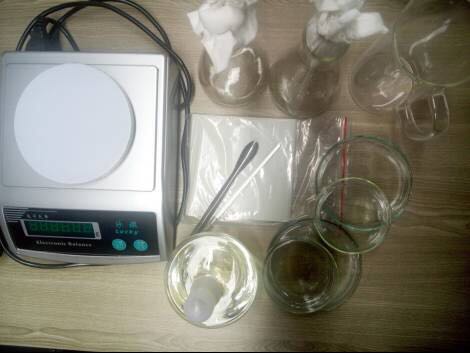
Experimental drug:Nutrient agar

The medium used by us is mainly used to cultivate bacteria. Medium has been configured, and adjust the pH value. If you use beef paste, peptone, agar, sodium chloride for the configuration of their own culture, but also need to add a step - adjust the pH value.
Experimental procedur1,the use of electronic balance, said the right amount of nutrient agar.2) add appropriate amount of water, heat and stir until the agar is completely melted.3. The culture medium is poured into the conical flask, which should not exceed 1/3 of the total volume. A bottle with cotton and gauze made cork plugged.4. Wrap the culture medium and the bottle neck in a newspaper.5. Put in autoclave, autoclave for 30 minutes.6) pour plate. The sterilized nutrient agar was poured into the plate. The whole process needs to be operated near the alcohol lamp to reduce the risk of airborne bacteria entering the medium.
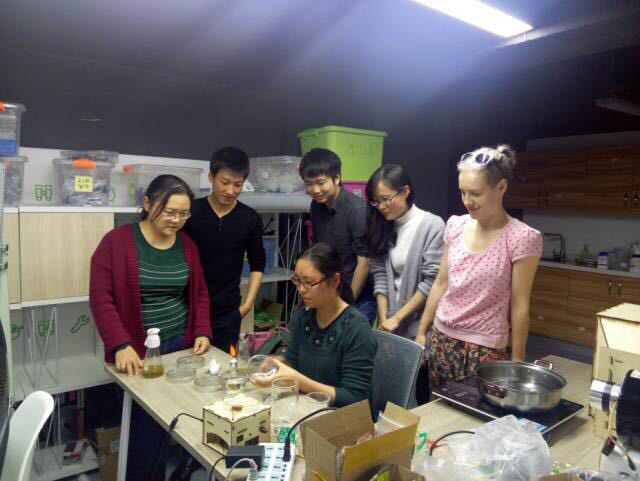
7) flat plate. Cooling and solidification.8、Open the self-made super clean bench, work for ten minutes, put in the condensed medium, open the lid and let it stand for 30 minutes. At the same time in the experimental operation area, also placed a good condensation of the culture medium, open the lid for 30 minutes9. Cover the culture medium, turn over the culture medium, mark well and put in the incubator.
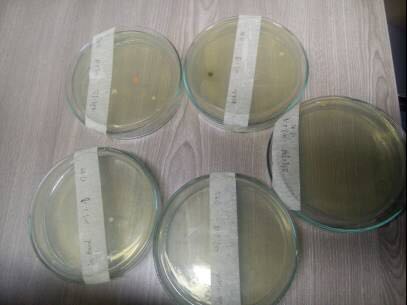
After 3 days of constant temperature culture
After five days of constant temperature culture
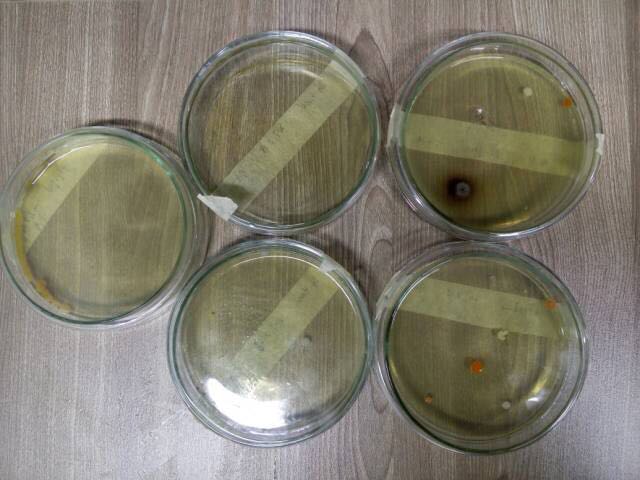
It can be clearly seen that the number of colonies in the sterile cover is much less than that of the medium in the test area.